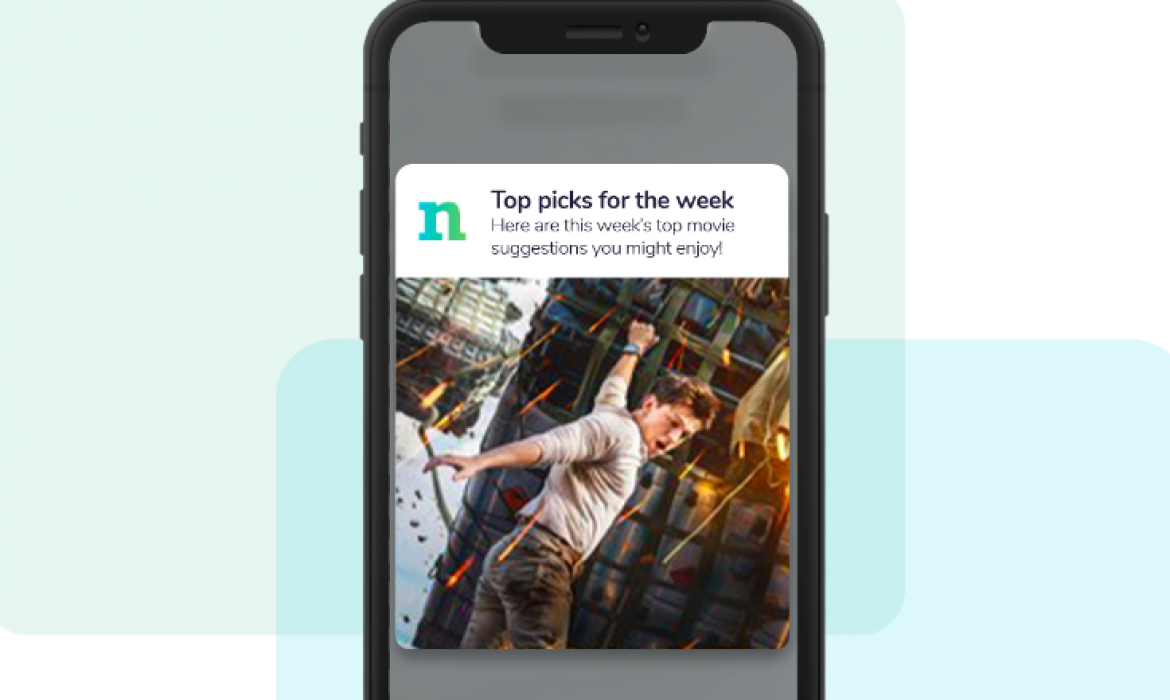
How to Master Rich Push Notifications with Netmera
Push notifications are a great engagement tool that helps you engage users at specific touchpoints. It can help you send real-time updates and reminders that will keep your users constantly interacting with your brand. While notifications can be simple text reminders, some push notifications come with images or videos. The latter comes across as rich push notifications.
Rich push notifications allow marketers to deliver their messages via images, emojis, sounds, GIFs or videos. Thus, the user is encouraged to interact with the content. However only a small portion of marketers use rich push notifications. Considering that rich push notifications have approximately 50% higher chance of being opened than standard notifications, you can understand the importance of notifications with rich media clearly.
Rich notifications are divided into different types according to the way they are used and different formats. Among them, the most prominent and preferred ones are Carousel and Slider.
Carousel Push Notifications are notifications that allow you to show multiple products bundled in a single notification where users can scroll through to see if they are interested in any of the promoted products. In short, you can send a single push notification to do the job of a couple of notifications.
Slider Push Notifications, an enhanced version of the Rich Push and very similar to Carousel Push, is capable of delivering multiple visually attractive images in a single push notification which the user can slide through.
Both notifications types allows you to;
- Showcase multiple products/promotions/articles
- Narrate a compelling story through push notifications
- Highlight multiple features
in a single notification.
Creating Carousel Push Notifications
Thumbnail Image URL (iOS): For Carousel push, only Thumbnail Image used on android devices should be added. In this section, you can enter the URL of the image to be displayed as Thumbnail.
Add New Item: Clicking this button opens the page where the image, title and content will be determined for your Carousel.
Copy item to Android: You can easily copy the Carousel content which is edited for iOS devices to Android devices via this button.
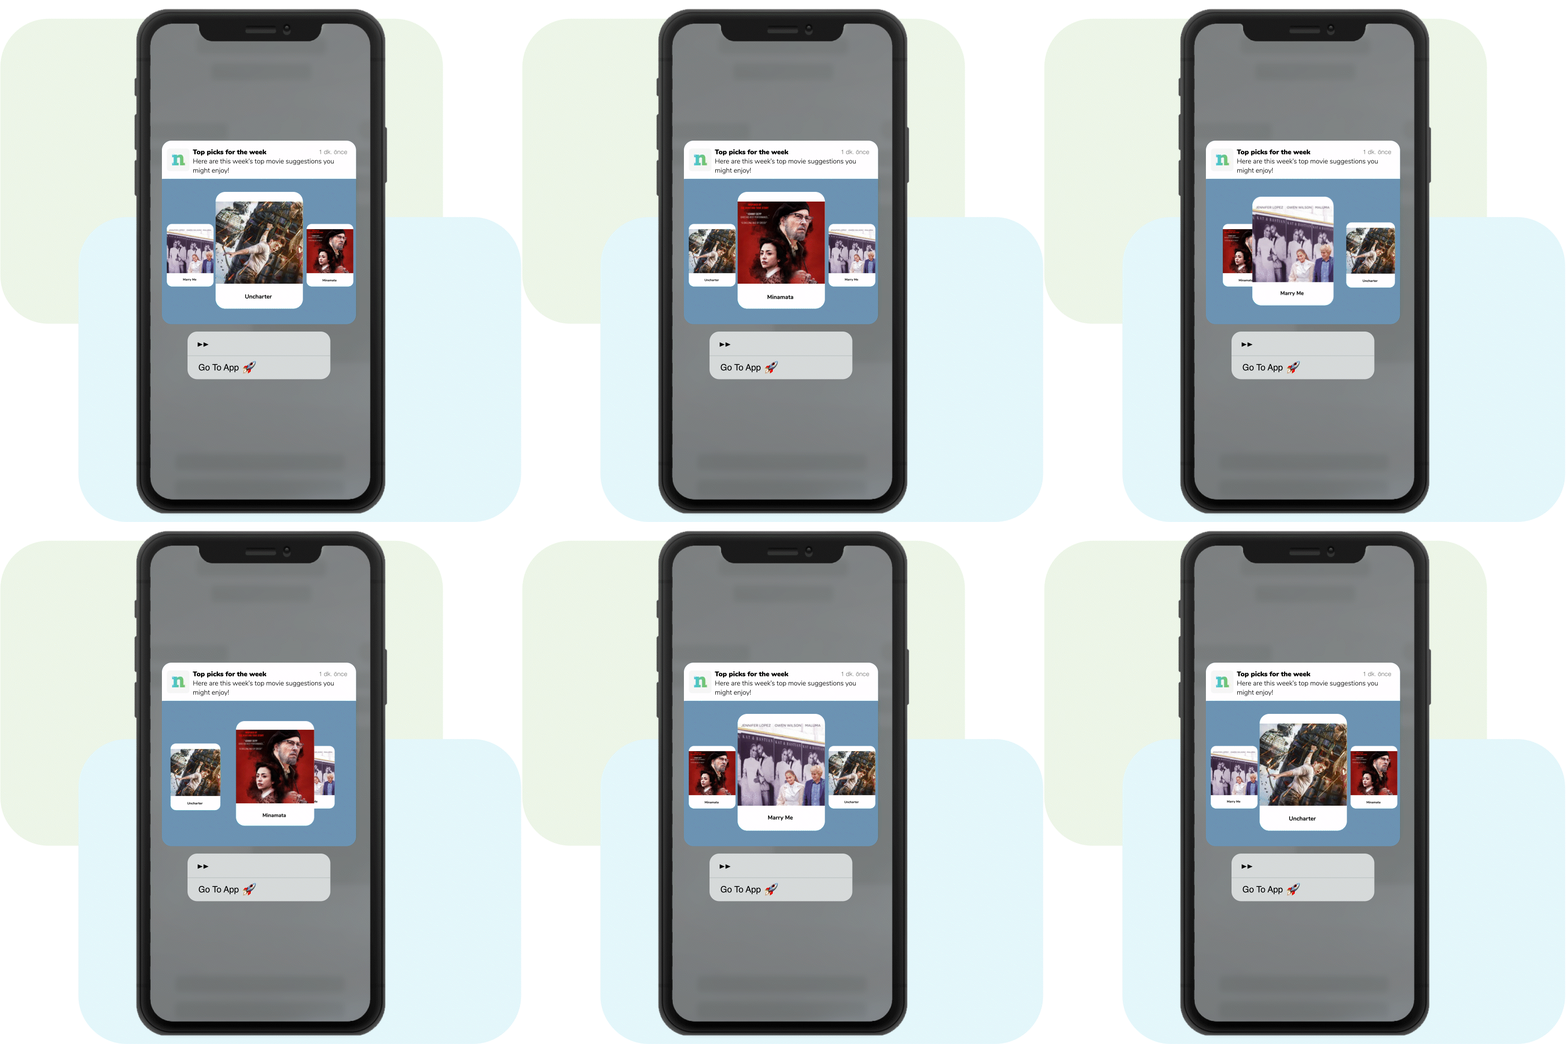
- Enter the URL of the image to be placed on the carousel on the page that opens.
- Determine information about the title and content for the message.
- Finally, select and save the action to be taken when the message is clicked.
Creating Slider Push Notifications
Add New Item: By clicking the “Add New Item” button, you will open the page where you will see and determine the image and title for your Slider.
Copy item to Android: You can easily copy the Slider content which is edited for iOS devices to Android devices via this button.
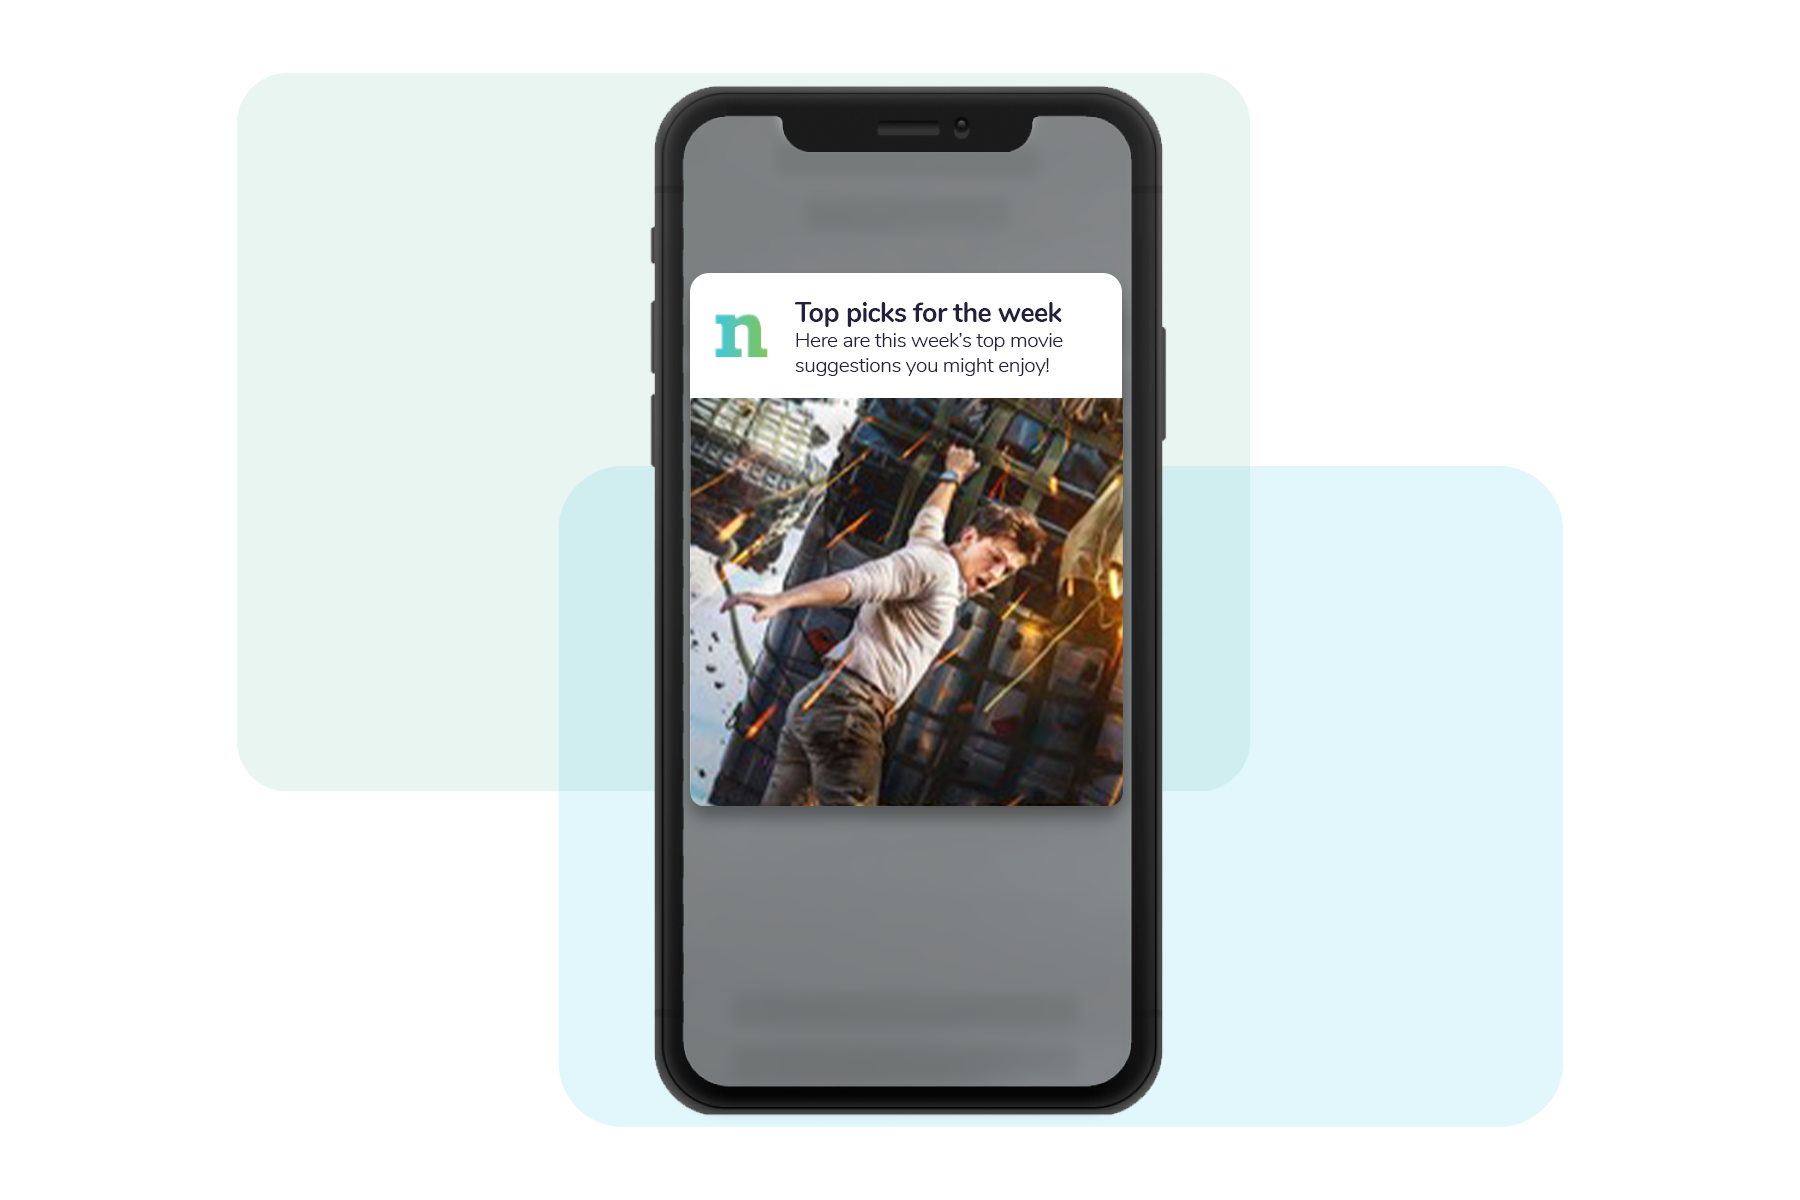
Enter the Product ID and URL of the image to be displayed on the page that opens and decide what happens when a user clicks on the Slider.
Please note that Android and iOS devices have different specifications in terms of visual formats and sizes.
Media type submissions have different capabilities on iOS and Android. While iOS allows content in jpg, png, gif and mp4 formats, only jpg and png can be used on Android.
Recommended sizes vary too.
Android recommended image size: 512×256 for Small, 1024×512 for Medium, and 2048×1024 for Large.
iOS recommended image size: 1038×1038 as long as they are under 10MB.
iOS scales images to fit in the screen. However it is recommended to use as small a file size as possible. As sending large files makes download timeouts longer.
Creating Android Banner Push Notifications
Banner Push Notifications are banner messages that can only be used on Android and you can create your content. It can be used in scenarios such as alerting users to weather-related issues such as emergencies or severe weather alerts, or introducing existing events within a certain time frame.

Background Image URL: Determine and place the URL of the image on the background of the banner.
Left Image URL: Determine the URL of the image to be placed on the left side of the banner.
Right Image URL: Determine the URL of the image to be placed on the right side of the banner.
Text Type: Decide which of the Text or Image options will be included in the banner. If you select the Image option, enter the URL of the desired image. If you select the Text option, determine the Push Text and arrange font and color as desired.
